Bookshelf with links, click areas to follow the link
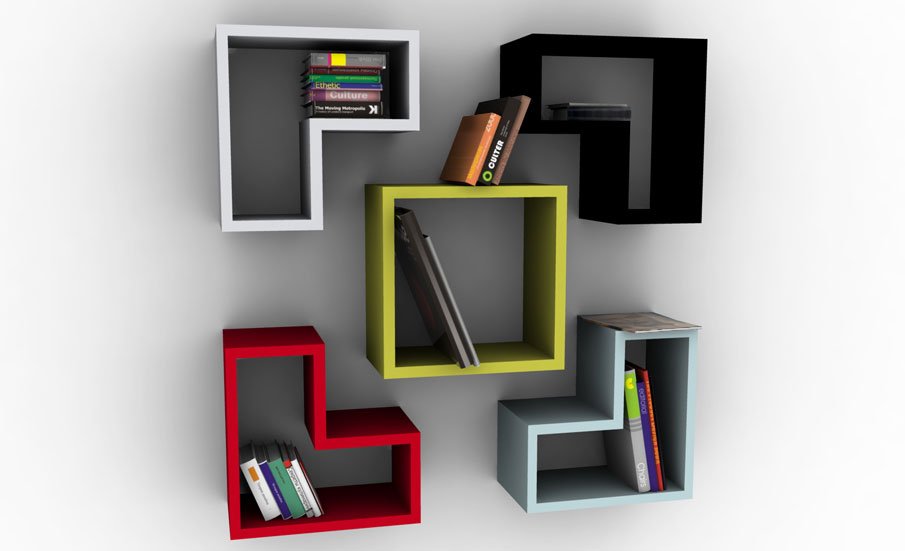
Bookshelf with links, click areas to follow the link
jquery.maphilight.min.js from this example and put it in the same folder as the webpage.
(you can also download jquery.maphilight.min.js here)
<!-- Add jQuery library -->
<script type="text/javascript" src="http://ajax.googleapis.com/ajax/libs/jquery/1.7/jquery.min.js"></script>

<!-- Add maphilight plugin -->
<script type="text/javascript" src="jquery.maphilight.min.js"></script>

<!-- Activate maphilight plugin -->
<script type="text/javascript">$(function() {
        $('.map').maphilight();
    });
</script>
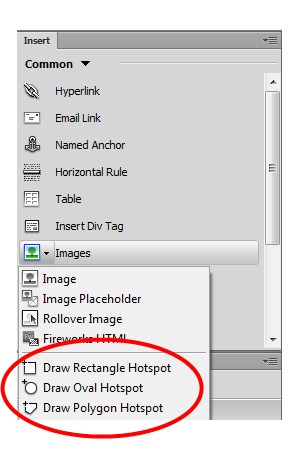
class="map" to the image (img-tag):
<img src="pict.jpg" class="map" width="905" height="551" border="0" usemap="#Map">
data-maphilight to the <map>> elements to create your own custom hightlights.
With this you can for example change line colors, fill-colors and opacity of the hightlighted area.
Je kunt hiermee kleuren van de lijn en het gebied (fill) opgeven, en bijv. ook instellen hoe doorzichtig het hilight-gebied is.
See the source of this demo page for examples.
In this example, a modified version of jquery.maphilight.js is used, which contains a fix to make this plugin work in recent version of Chrome.